How to Make a Stretch Bracelet
 You have a new outfit that you’re dying to wear, but you don’t have matching jewelry and only 10 minutes to spare. How about making a stretch bracelet? They are fast to make, and even if they aren’t what you might call high end jewelry, they are a lot of fun.
Putting the Stretch in a Stretch Bracelet
The most import part of your stretch bracelet is the stretch cord. There are several types out on the market — Power Cord and Stretch Magic are probably the two most commonly seen. I happen to be using a product called Opelon, by Beadsmith, which I have had some good luck in using.
Some of the stretch cords / thread are stiff enough that you don’t need to use a needle with them. Some, like Opelon, require a needle. I like to use a big-eyed needle — the eye runs almost the entire length of the needle, meaning that you can thread it very easily.
There are also different weights of the stretch material. My rule of thumb; use the thickest thread / cord that will still fit through your bead holes. Since it stretches, if gets a lot of wear so a stronger cord is the best choice.
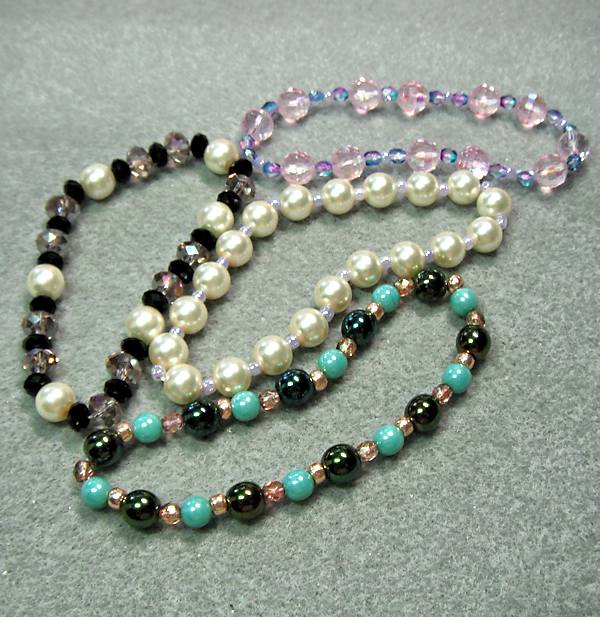
Beads, Beads, Beads
What kind of beads can you use with stretch cord? Pretty much anything that has a large enough hole, but keep the following in mind — don’t use beads that have sharp or rough edges that could abrade or cut the cord / thread. This includes many gemstone beads, metal beads and crystals with sharp holes. If you like the look of crystal, though, I’ve had some good luck using the Czech fire-polished crystal beads.
You can make a pattern when stringing on your beads, or you can be random. The nice part is that since it only takes a minute or two, if you don’t like it — take the beads off and try again!
Sizing Your Project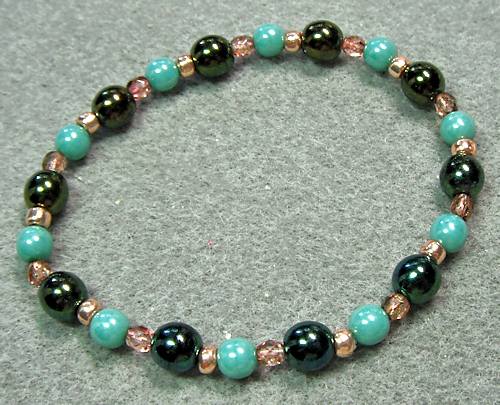
Whether it’s a bracelet or a necklace, you need to make sure that the necklace will go over your head or over the widest part of your hand without being stretched tightly. Yes, stretching is the whole point of these pieces of jewelry, but best not to push your luck! Your jewelry will last longer if it’s not stretched to within an inch of its life when putting it on or taking it off.
As you’re making your piece, try it for size every so often to make sure it fits, as well as you being able to put it on and take it off easily.
Finishing
Finishing is very easy! It involves making a few knots, securing it with some glue (preferable) or clear nail polish (good in a pinch). Wait til the glue or polish dries, then snip the tails close to your work and you’re done!
Video Tutorial
If you’d like to see all the above in action, I’ve got a video for you! When you’re done, you’ll be ready to make your very own stretch bracelet. 🙂
And if you’d like to explore more jewelry making projects, you can see more on the Basics page, with more intricate jewelry on the Projects page. Either way — enjoy!
![]()
![]()
![]()
![]()
![]()
Leave a Reply